Home Automation Widget
- Step 1: Create the Door Widget and its Contents
- Step 2: Copy the update URL
- Step 3: Create your home automation
- Step 4: Setting up the lock automation
- Step 5: Choosing to run a shortcut
- Step 6: Creating the locked door shortcut
- Step 7: Creating and setting up the unlocked door automation
- Step 8: Creating the unlocked door shortcut
- Widget JSON
Using Pushcut's webhook API to update a widget from a home automation.
Step 1: Create the Door Widget and its Contents
For this example we'll need two different contents, so start by creating a Door Locked Content by importing the provided JSON and an Door Unlocked Content by importing the other provided JSON. Learn more about how to do this on our support page.
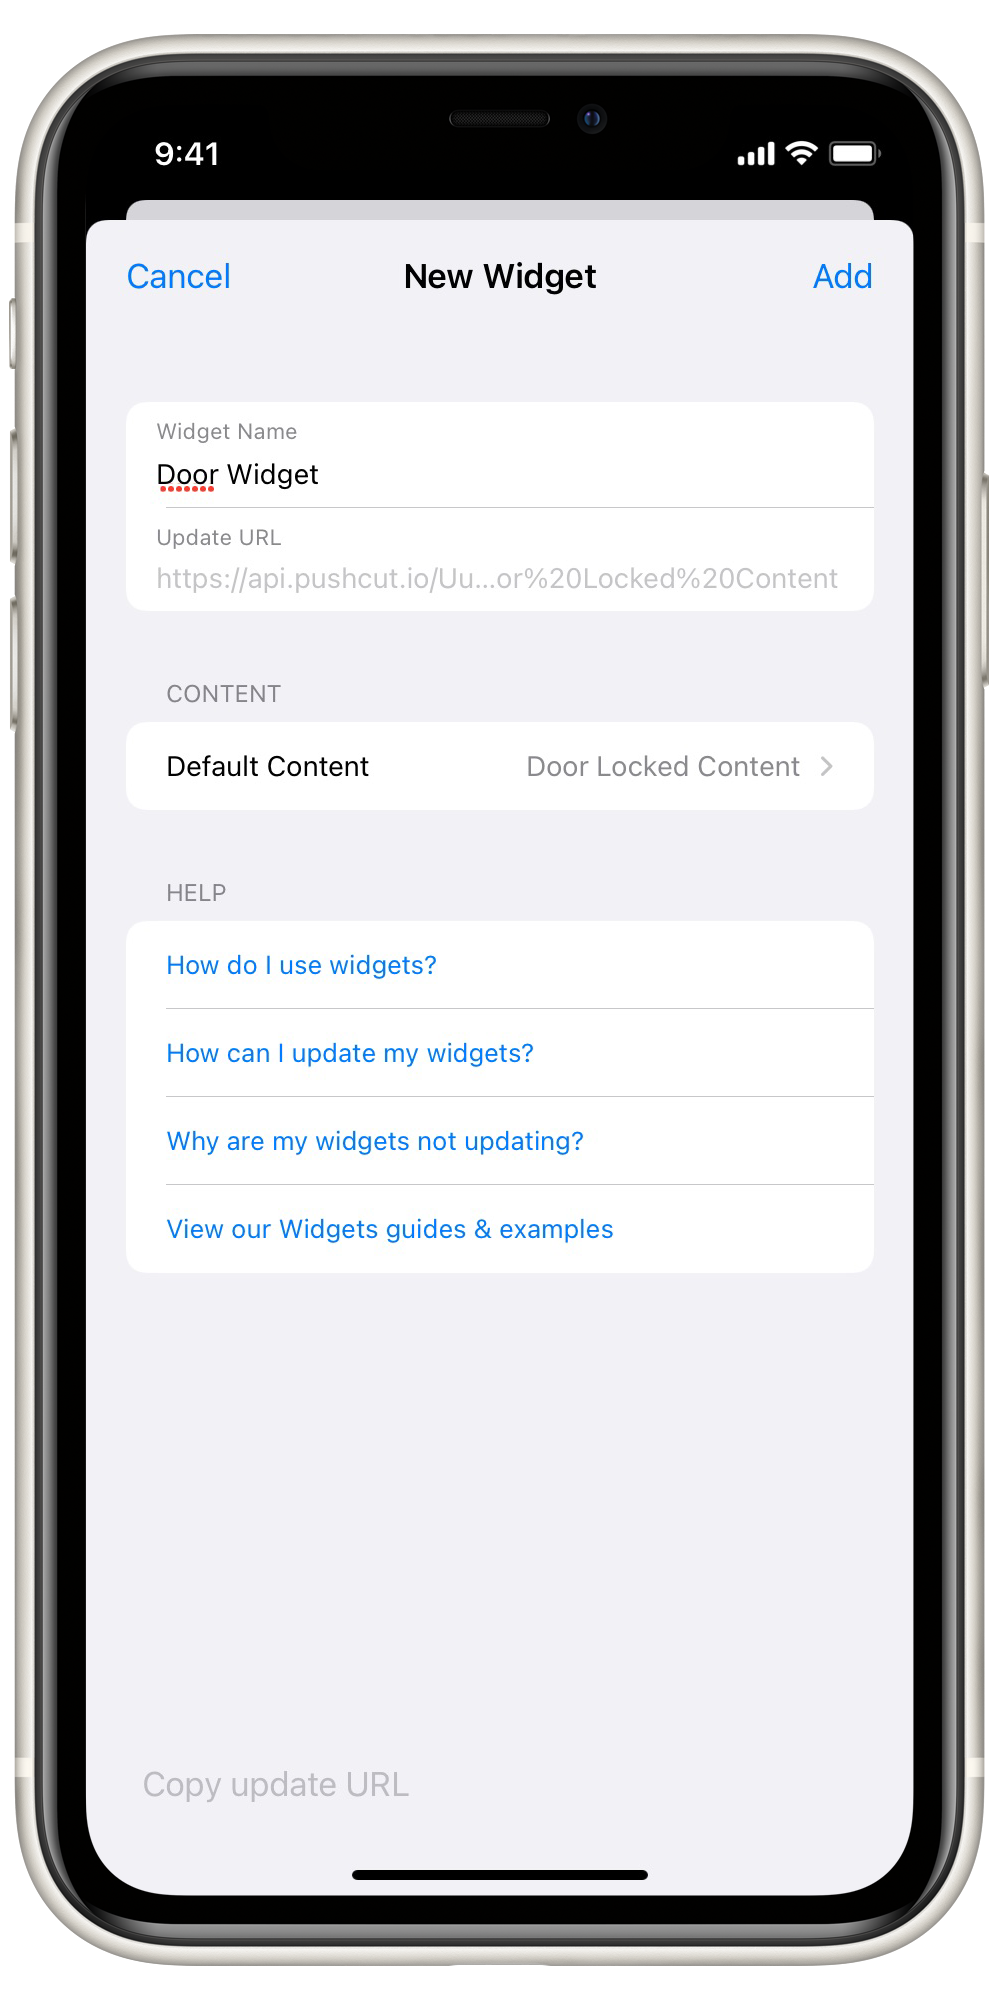
Then, create a new Door Widget, set its default content to your new Door Locked Content and tap Save, but do not close the sheet yet.
Step 2: Copy the update URL
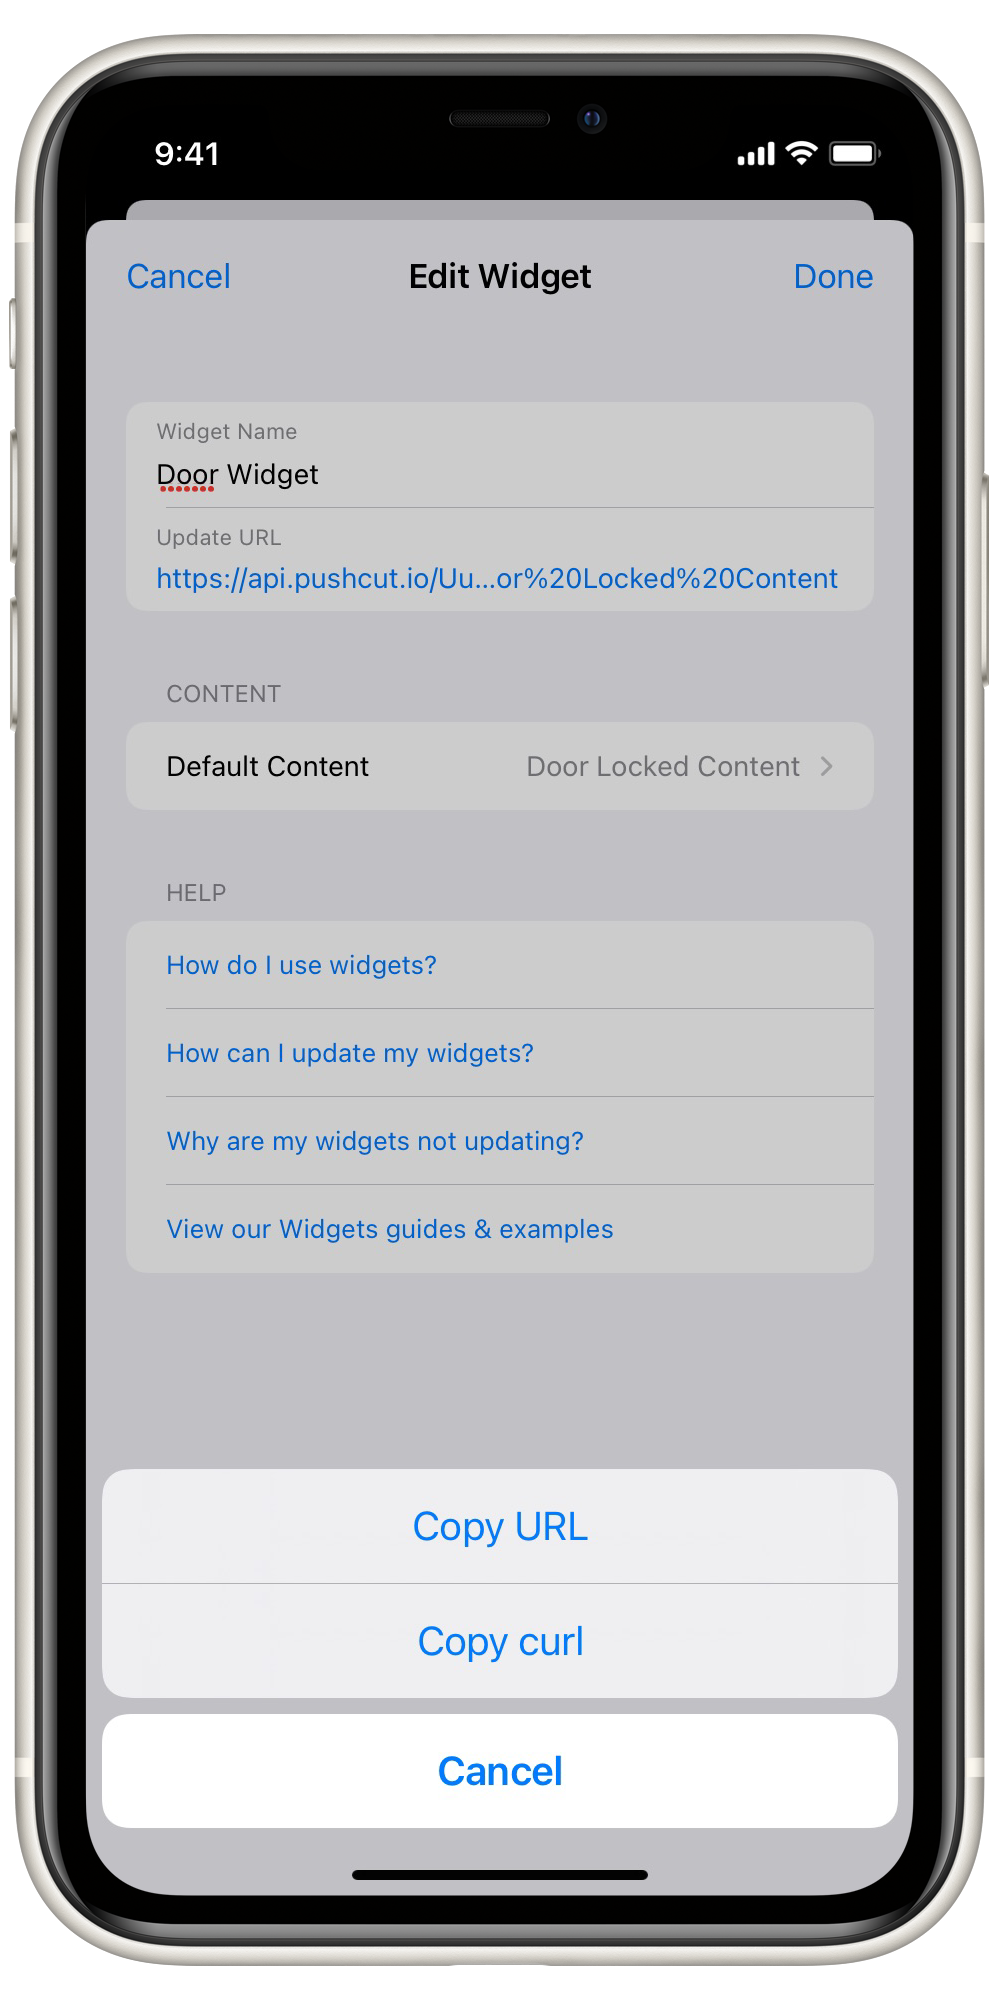
After tapping Save, you'll notice that the Update URL link is now active. Tap on it and choose Copy URL.
You can now close the Edit Widget sheet by tapping Done.
Step 3: Create your home automation
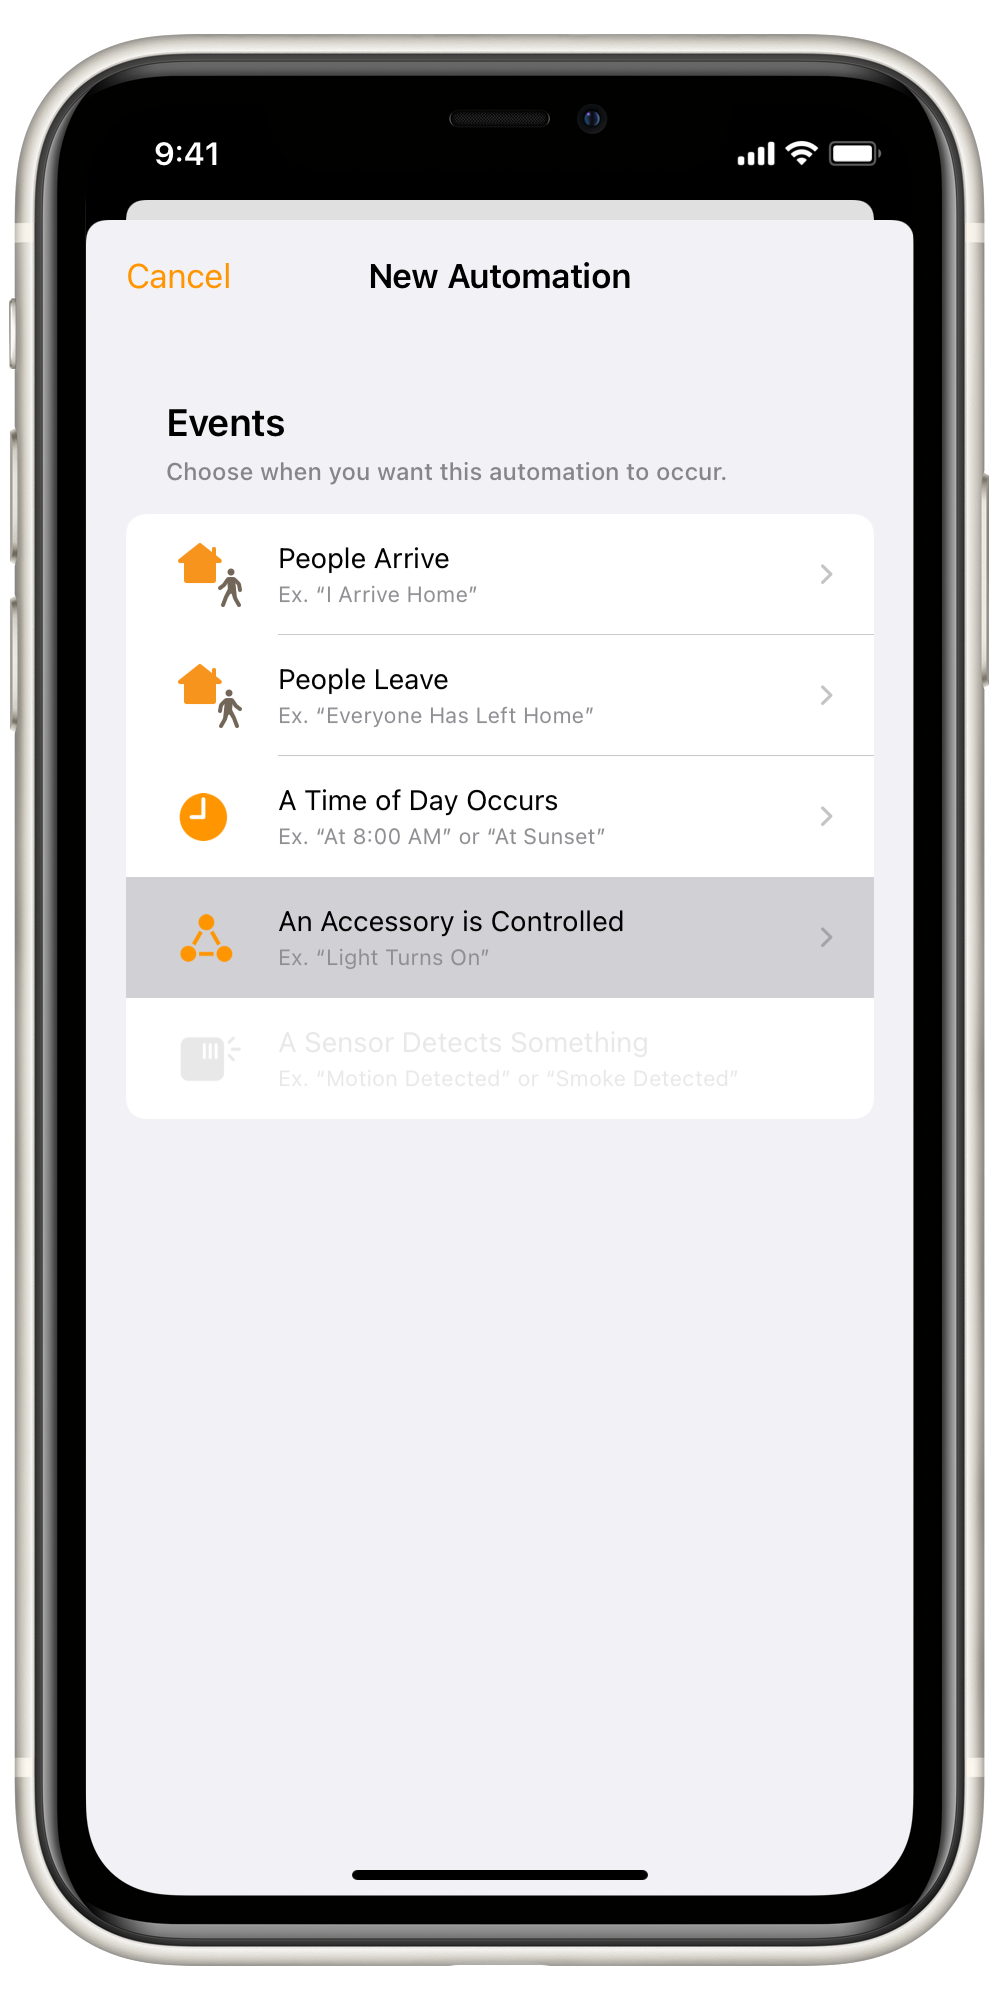
Now, go to the Home app, visit the Automation tab, tap on the + button and choose Add Automation.
Once the New Automation sheet appears, tap on An Accessory is Controlled.
On this example, we'll create automations for a smart lock which is already set up on the Home app. If you need help doing so, check out Apple's support page.
Step 4: Setting up the lock automation
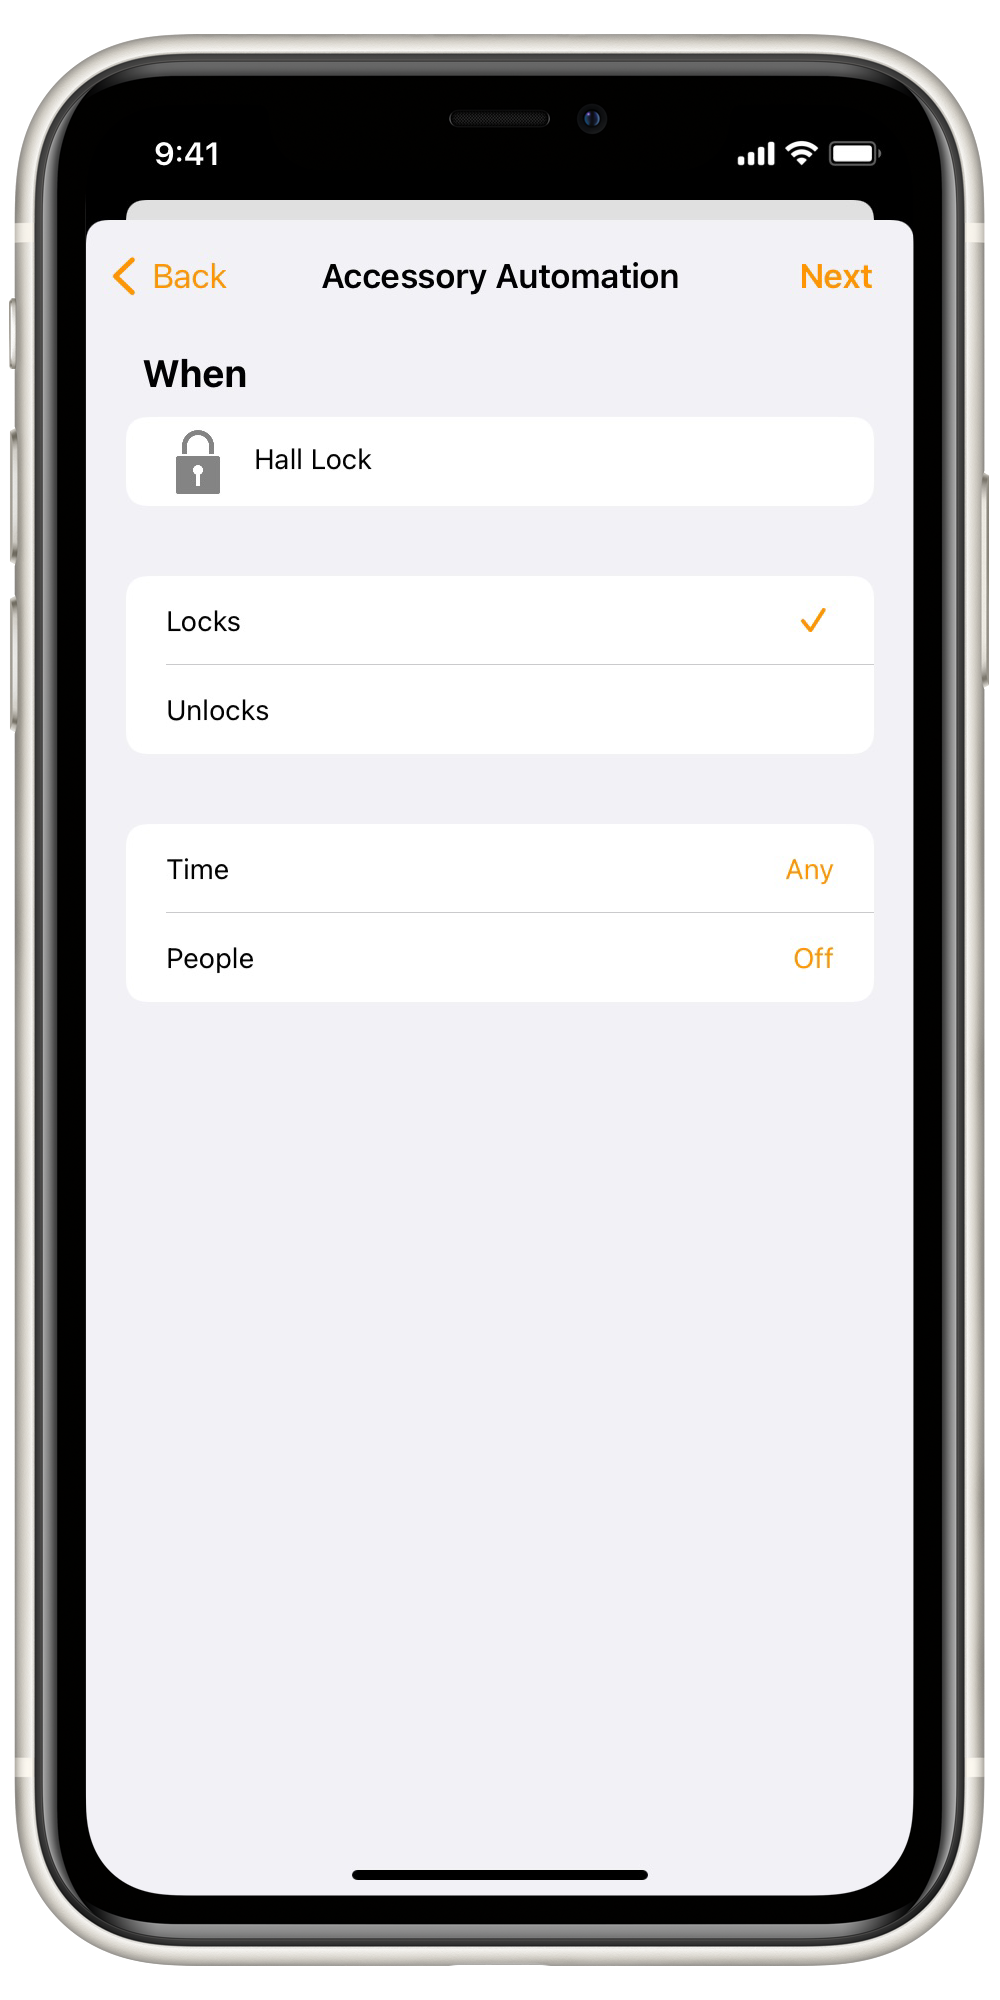
On the next screen, you'll need to choose the accessory that will start the automation. In our case, it's the smart lock.
Then, choose the event that will trigger it. First, we'll create the automation that will run when the door is locked, so choose the corresponding option and tap Next.
Step 5: Choosing to run a shortcut
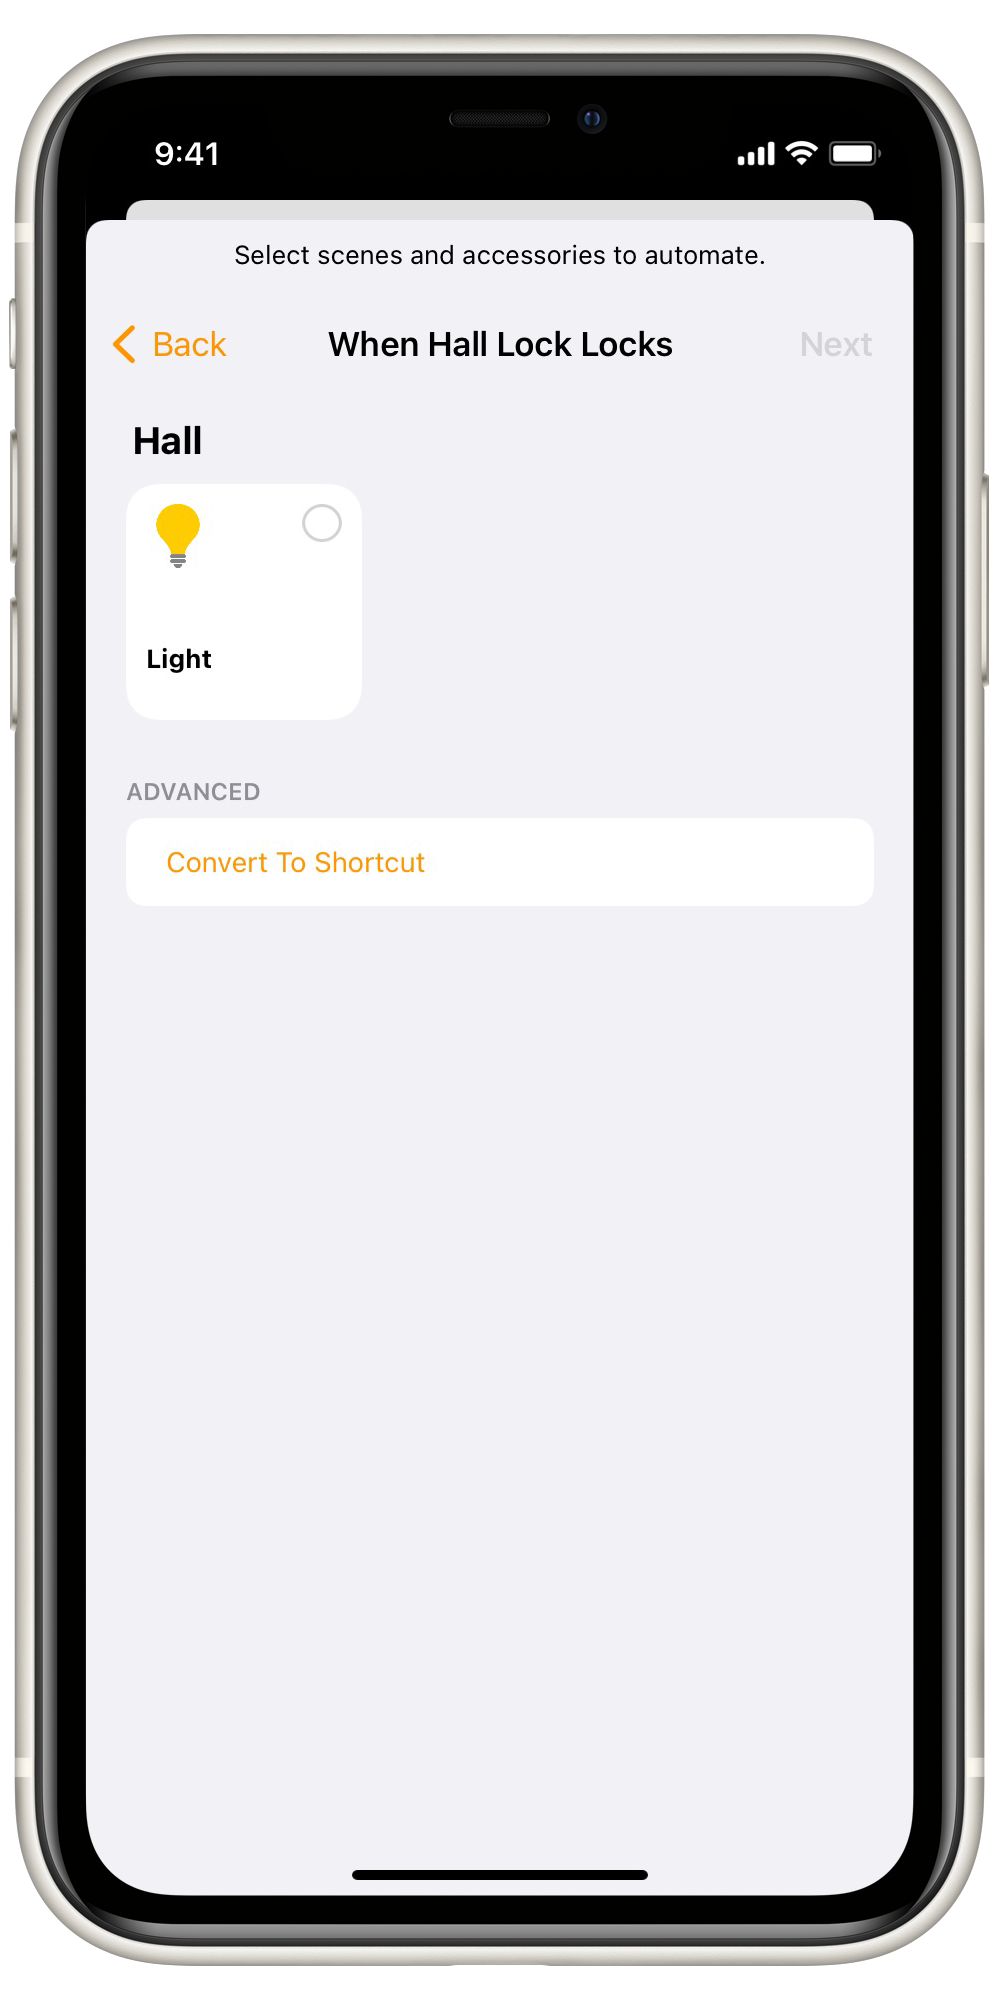
In order to update the widget when the door is locked, we need to run a Shortcut with this automation. So, tap on the Convert to Shortcut button.
Step 6: Creating the locked door shortcut
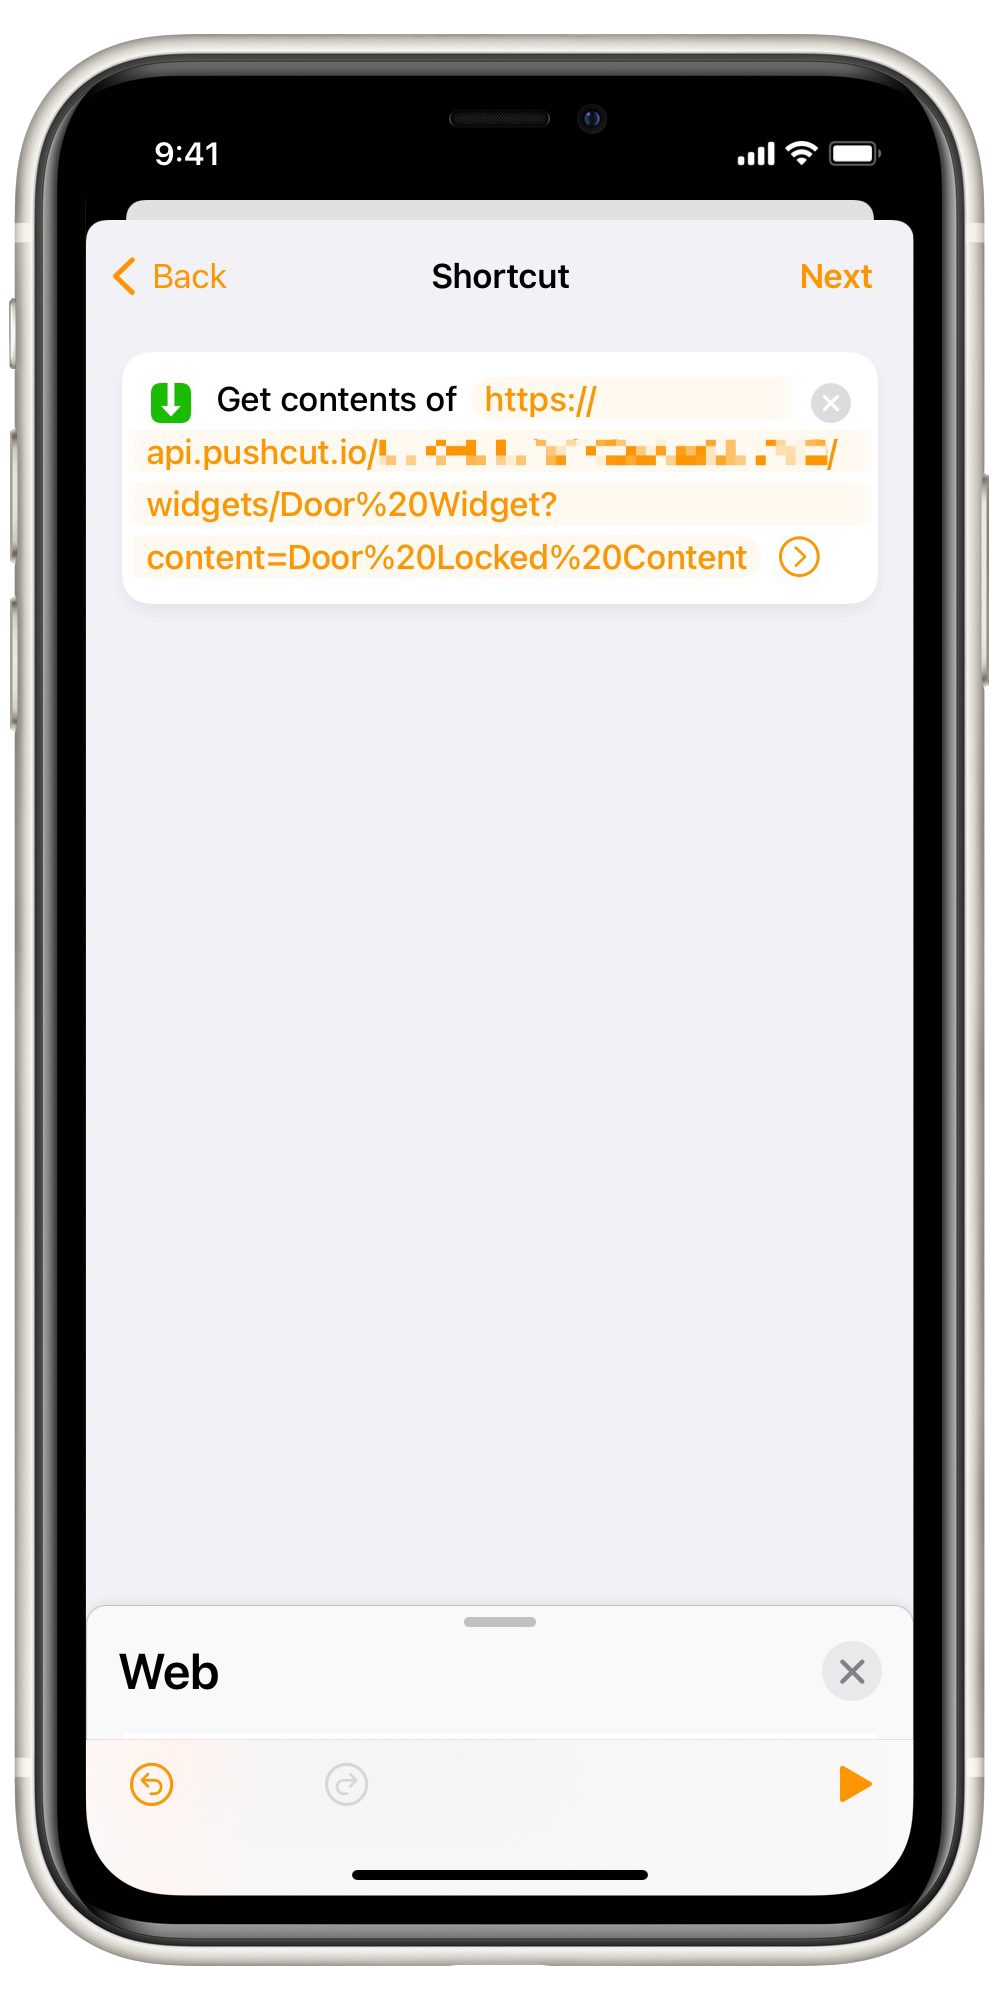
It's now time to create the shortcut that will update the widget. You'll notice right away that not all actions that are available on the Shortcuts app are visible on the Home app. For example, we can't use the new Update Widget Pushcut action to update our widget, so we'll rely on Pushcut's powerful webhooks to do this.
In order to do so, erase any default actions that have already been included by iOS and add a new Get Contents of URL action. For the URL parameter, paste the URL you copied on step 2.
Tap Next and, on the next screen, tap Done. You now have an automation that updates one of your widgets everytime your door is locked!
Step 7: Creating and setting up the unlocked door automation
We'll now create the automation that will update the widget when the door is unlocked.
Repeat steps 3 and 4, but this time, choose the Unlocks trigger and tap Next.

Step 8: Creating the unlocked door shortcut
On the next screen, repeat what you've done on step 5 and tap on Convert to Shortcut.
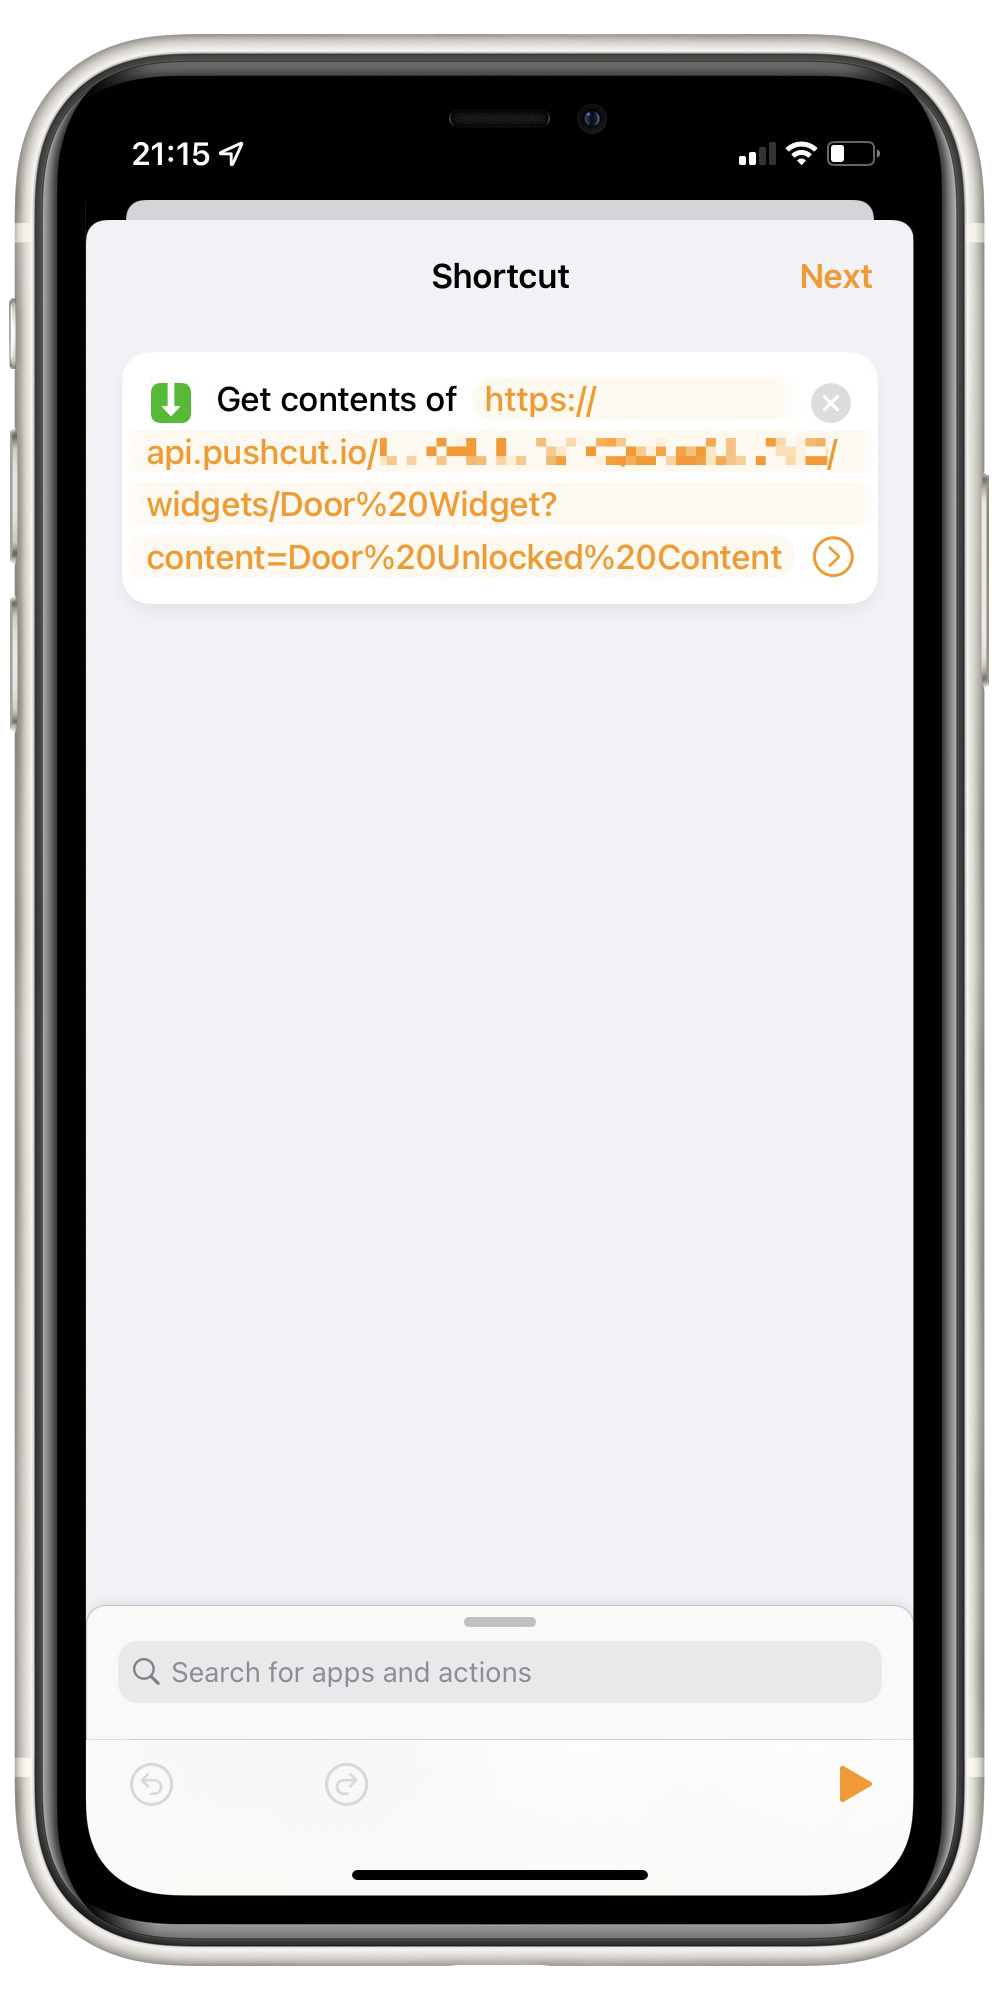
Now, similar to what you've done on step 6, remove any actions already included by iOS and add a new Get Contents of URL action. For the URL parameter, we need to paste the same URL copied on step 2, but change it a little bit, so we can instruct Pushcut to show a different content, the Door Unlocked Content. In order to do so, edit the ending of your URL, so it matches what is shown below and on the picture to the right.
https://api.pushcut.io/[secret]/widgets/Door%20Widget?content=Door%20Unlocked%20Content
If you need help, Pushcut can generate this URL for you. Go back to the Pushcut app, open the Door Widget, change the Default Content to Door Unlocked Content and tap on Save. The Update URL should now be updated.
Once you're finished creating the shortcut, tap Next and, on the next screen, tap Done.
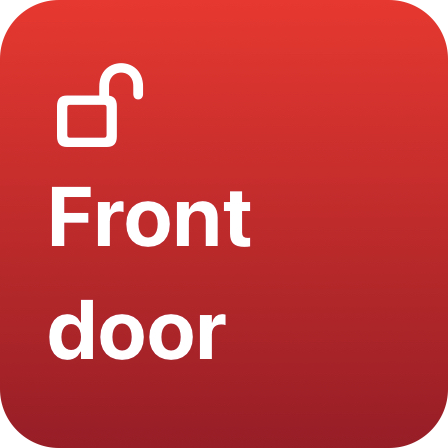
That's it! With this new widget on your home screen, you'll be able to quickly see if your door is indeed locked and your house is safe.