Push notifications from Zapier
Step 1: Create a new Pushcut notification
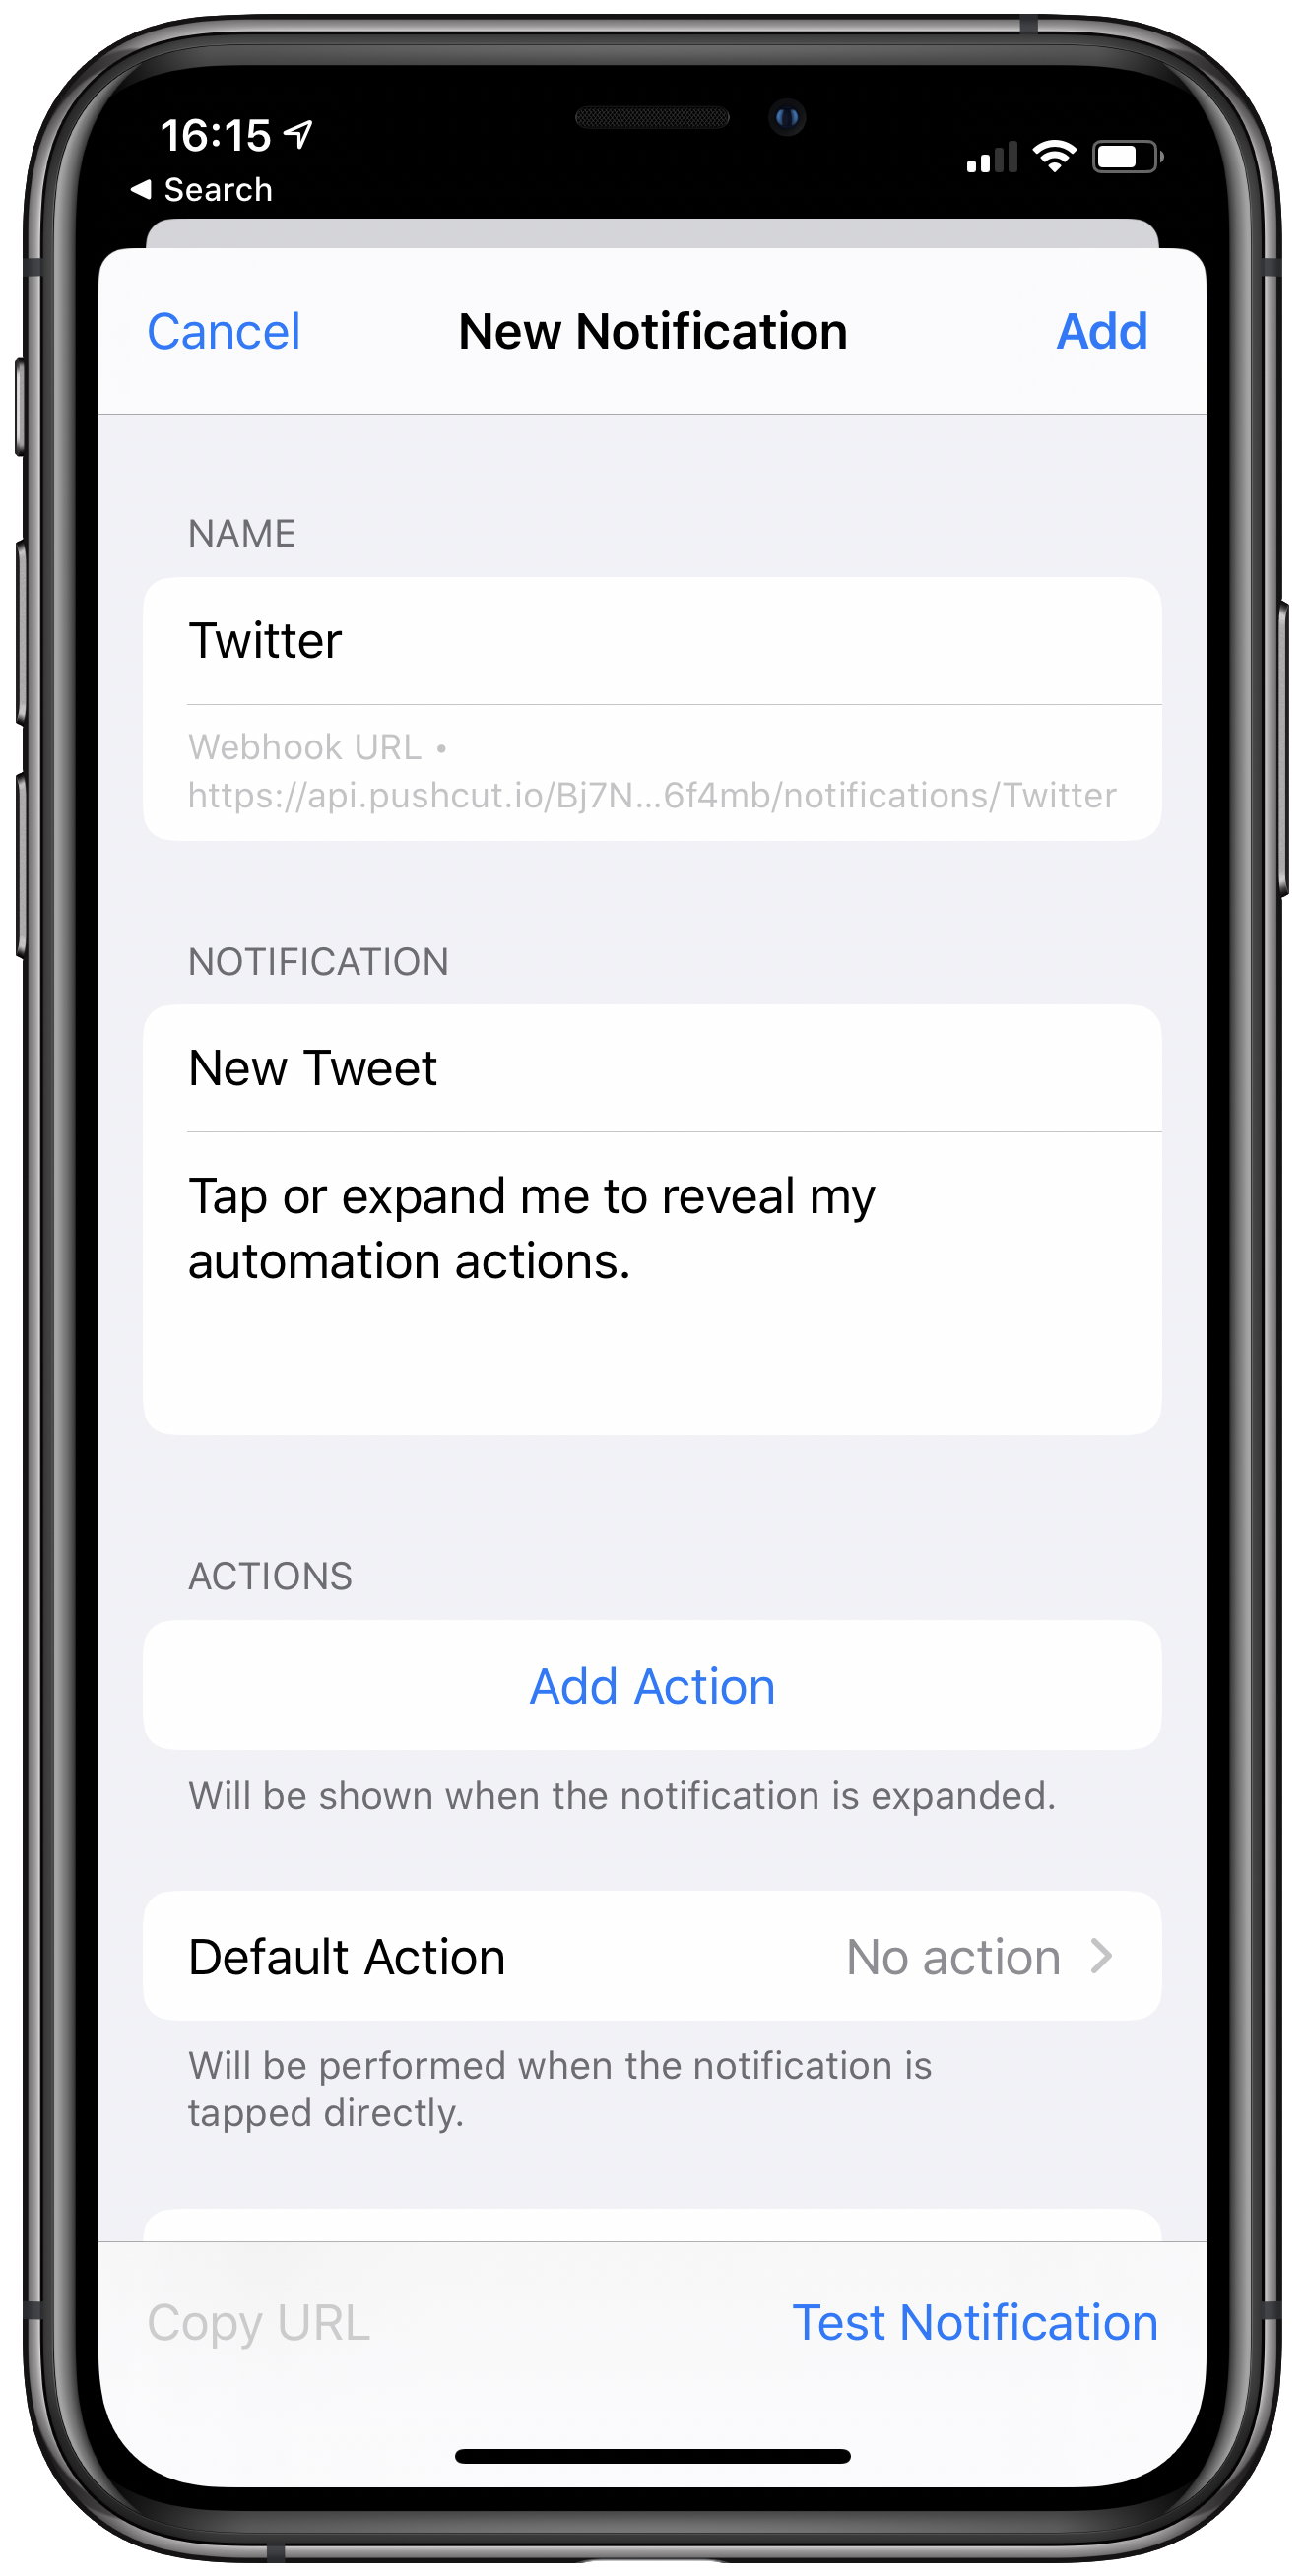
Add a new notification in the Pushcut app and set its name.
Title and message will be set dynamically, so they will not matter.
Step 2: Add a default action
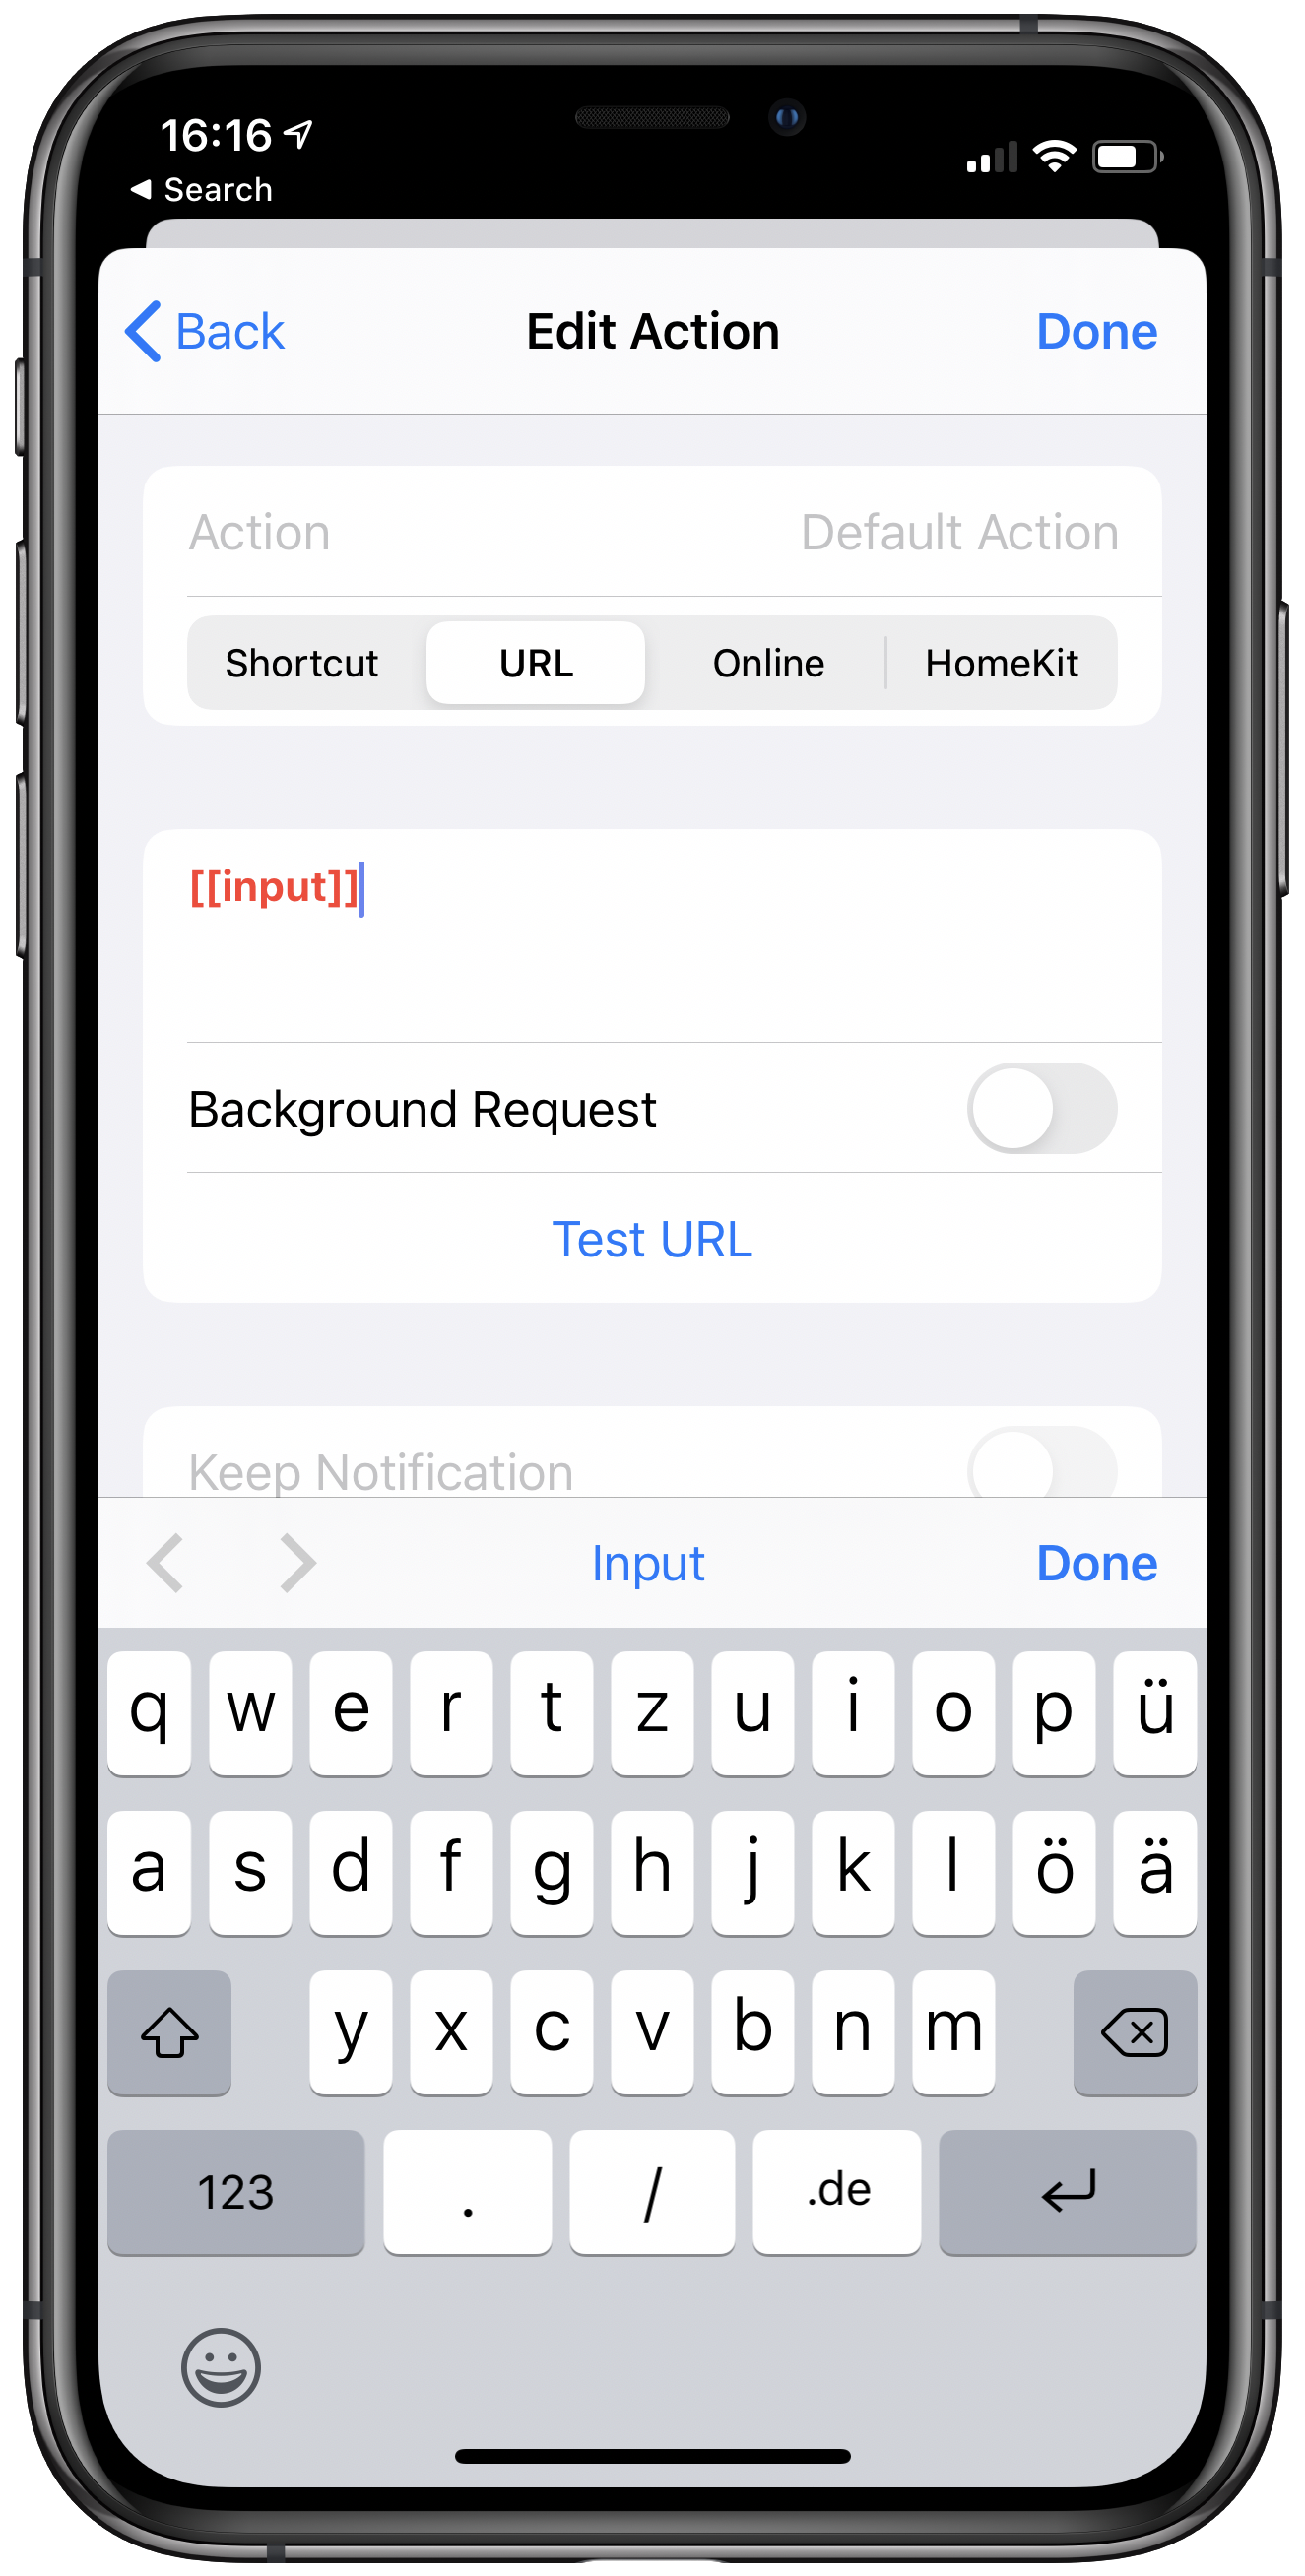
Tap Default Action and select URL.
In the URL field, tap Input to use the Raw Input as the URL to open. We will later pass in the tweet's link via the notification input.
Tap Done and Save to activate this notification.
Step 3: Create a Zap
Go to Zapier and add a new zap.
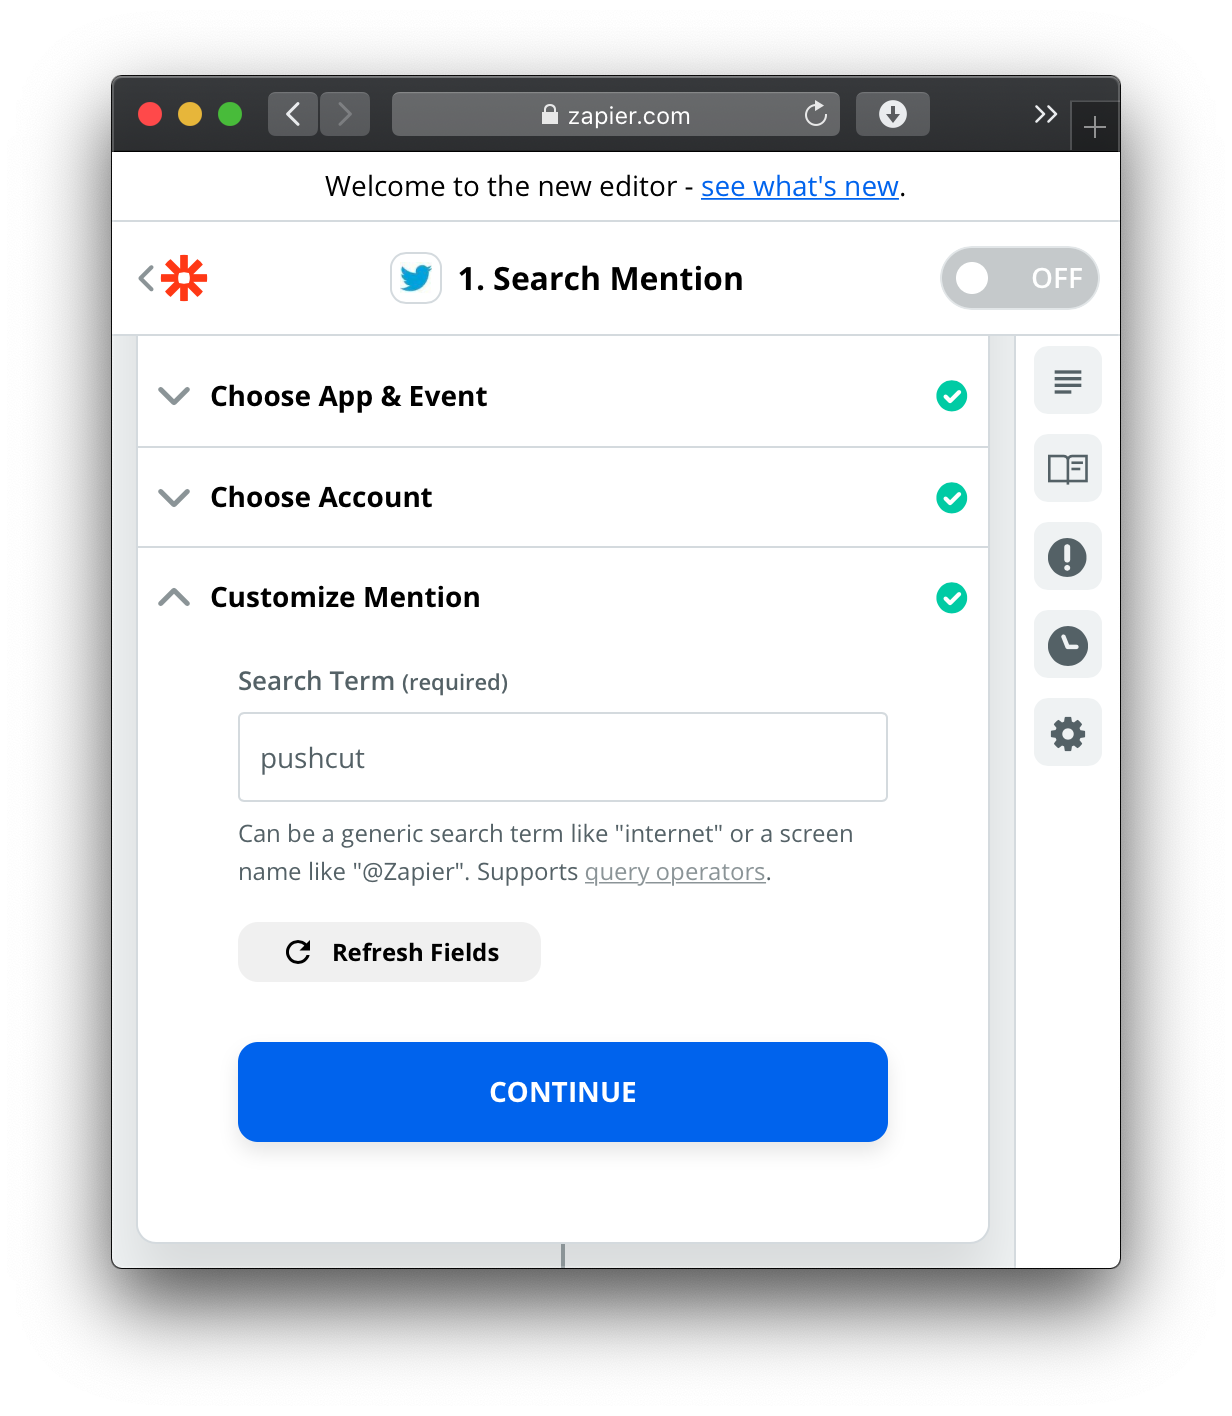
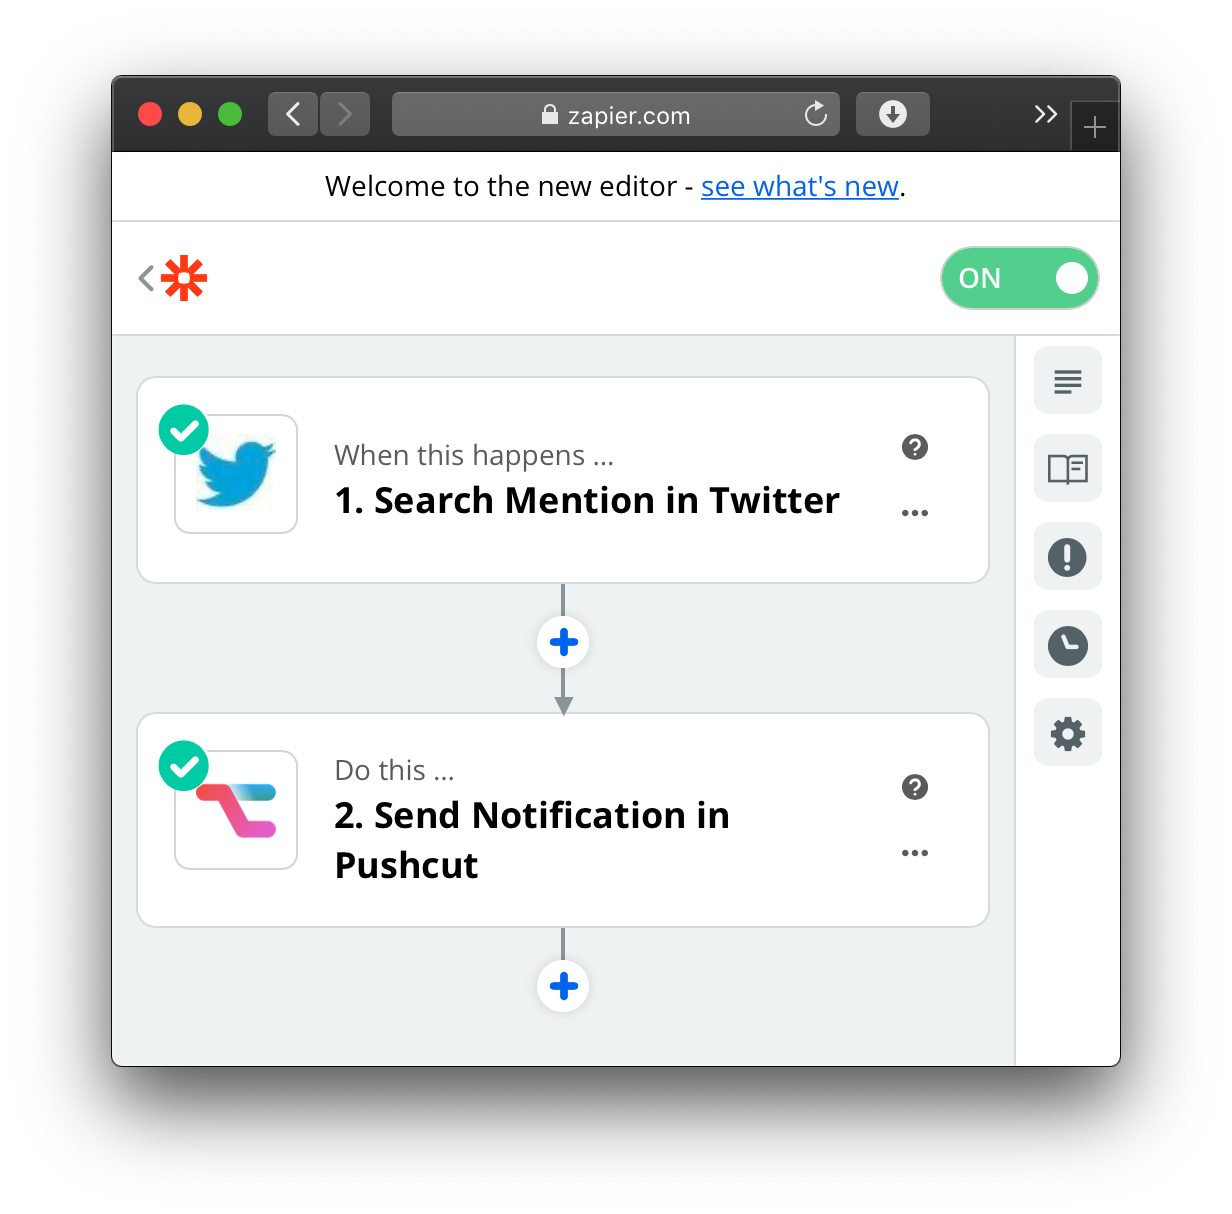
Select Twitter as the trigger and choose the triggering event.
This example uses the Search Mention event with pushcut as the term.
Step 4: Add Send Notification action
Add an action to your zap, select Pushcut and choose Send Notification.
The first time you will be promptet to link your account. Follow the instructions and scan the QR code with the Pushcut app (Account > Scan Code).
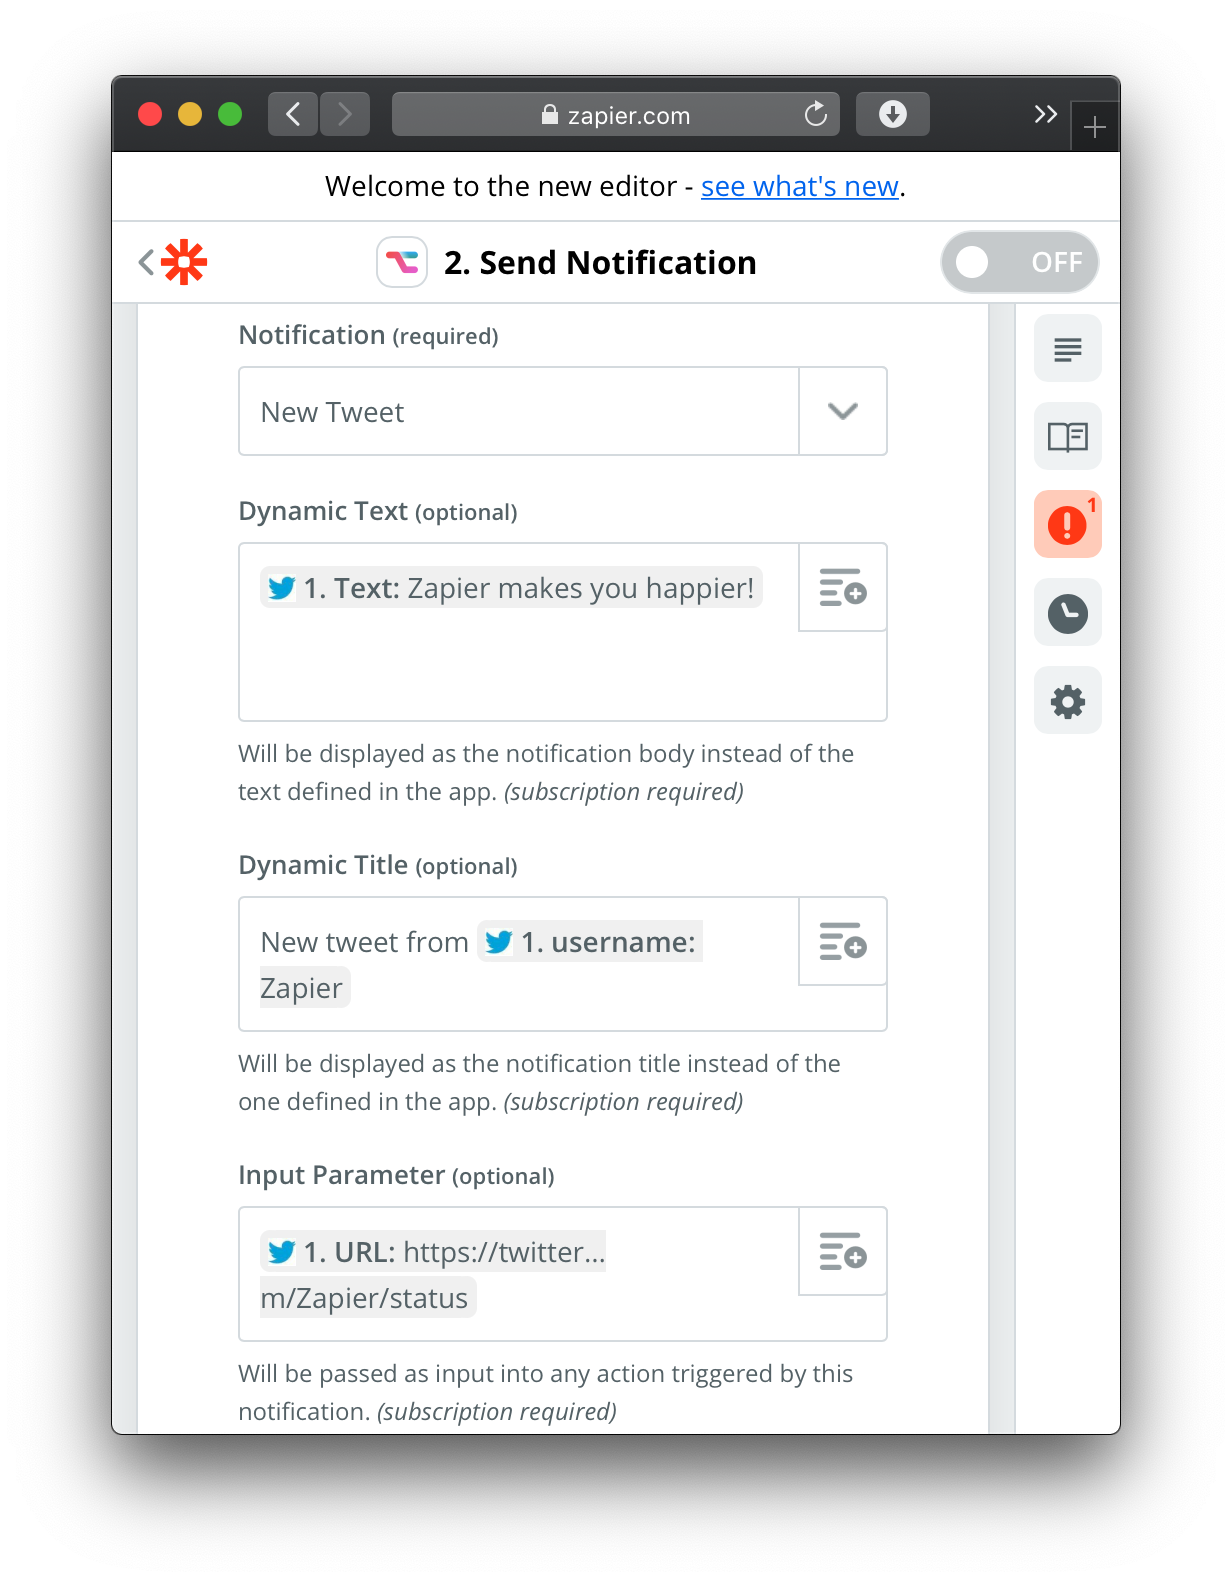
Select the Pushcut notification you created before from the drop-down and pass in the tweet's text and username into the notification.
Make sure to pass the URL as the Input Parameter, as it will be used in the default action.
Step 5: Turn on zap
Click Test & Continue and verify that your notification behaves correctly.
When all is set up to your liking, do not forget to toggle the On switch to activate your zap.
Step 6: Fine-tuned twitter notifications!
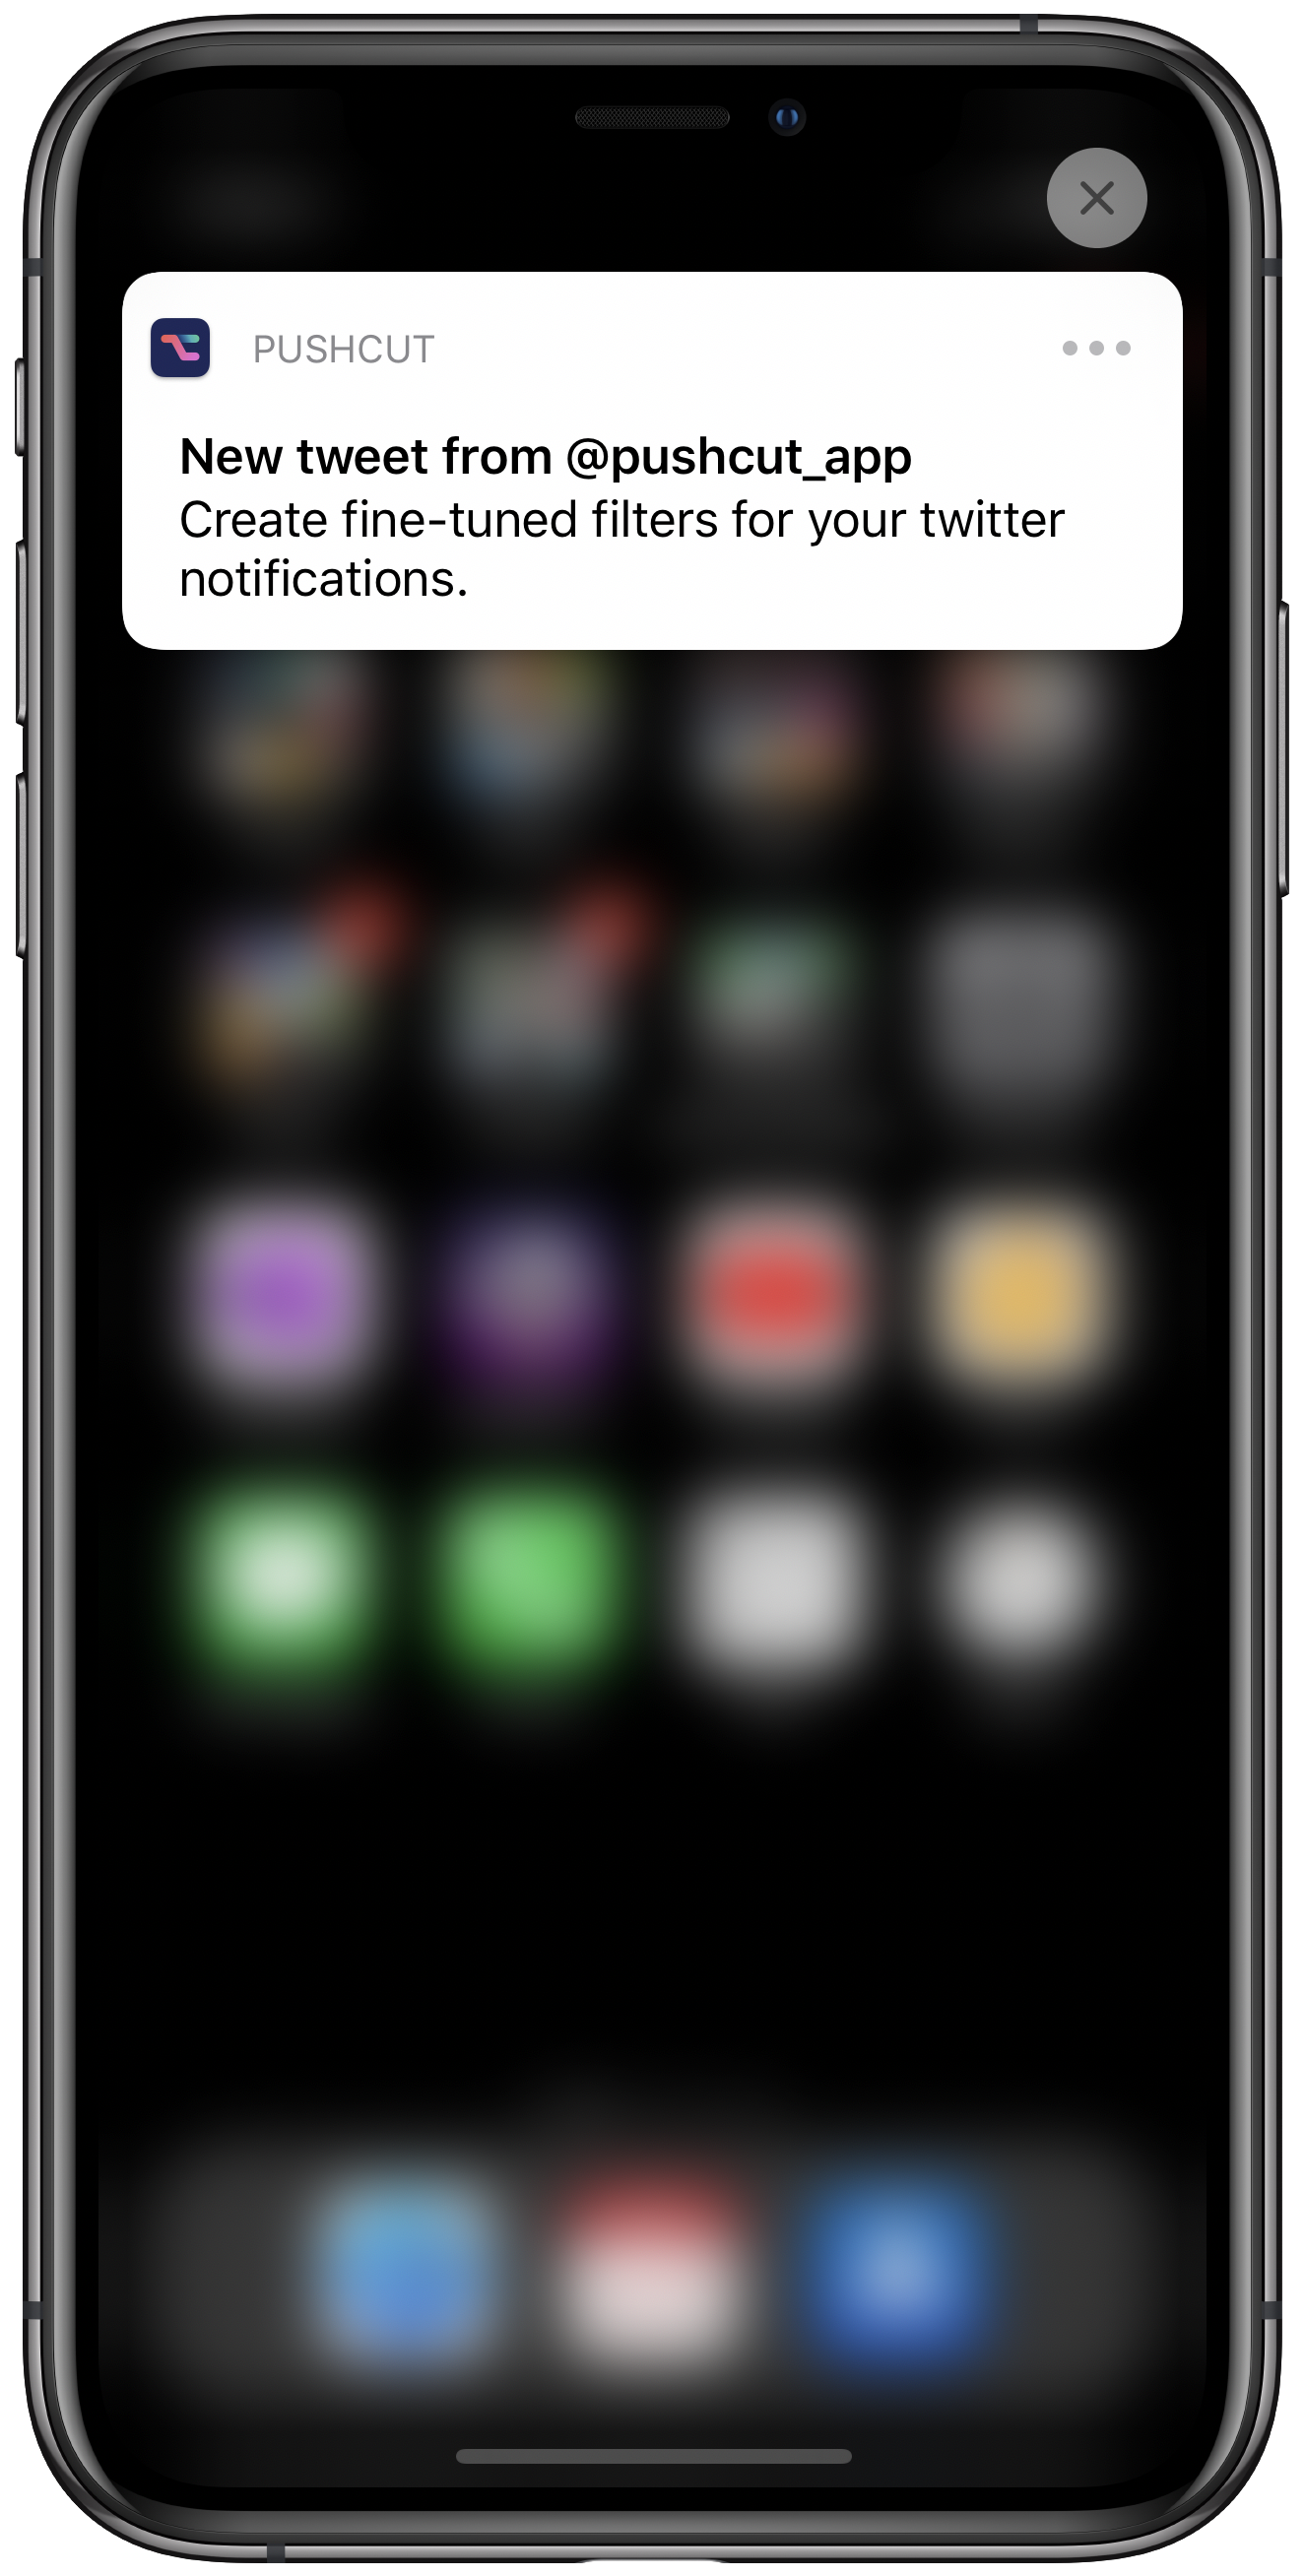
That's it! Your twitter notifications will arrive exactly as you define them them.
You can of course use Zapier's power to filter them even more or include different information.
If you prefer a third-party twitter app (like tweetbot, twitterrific, …), you can use custom URL schemes to open your tweet there.
Want more?
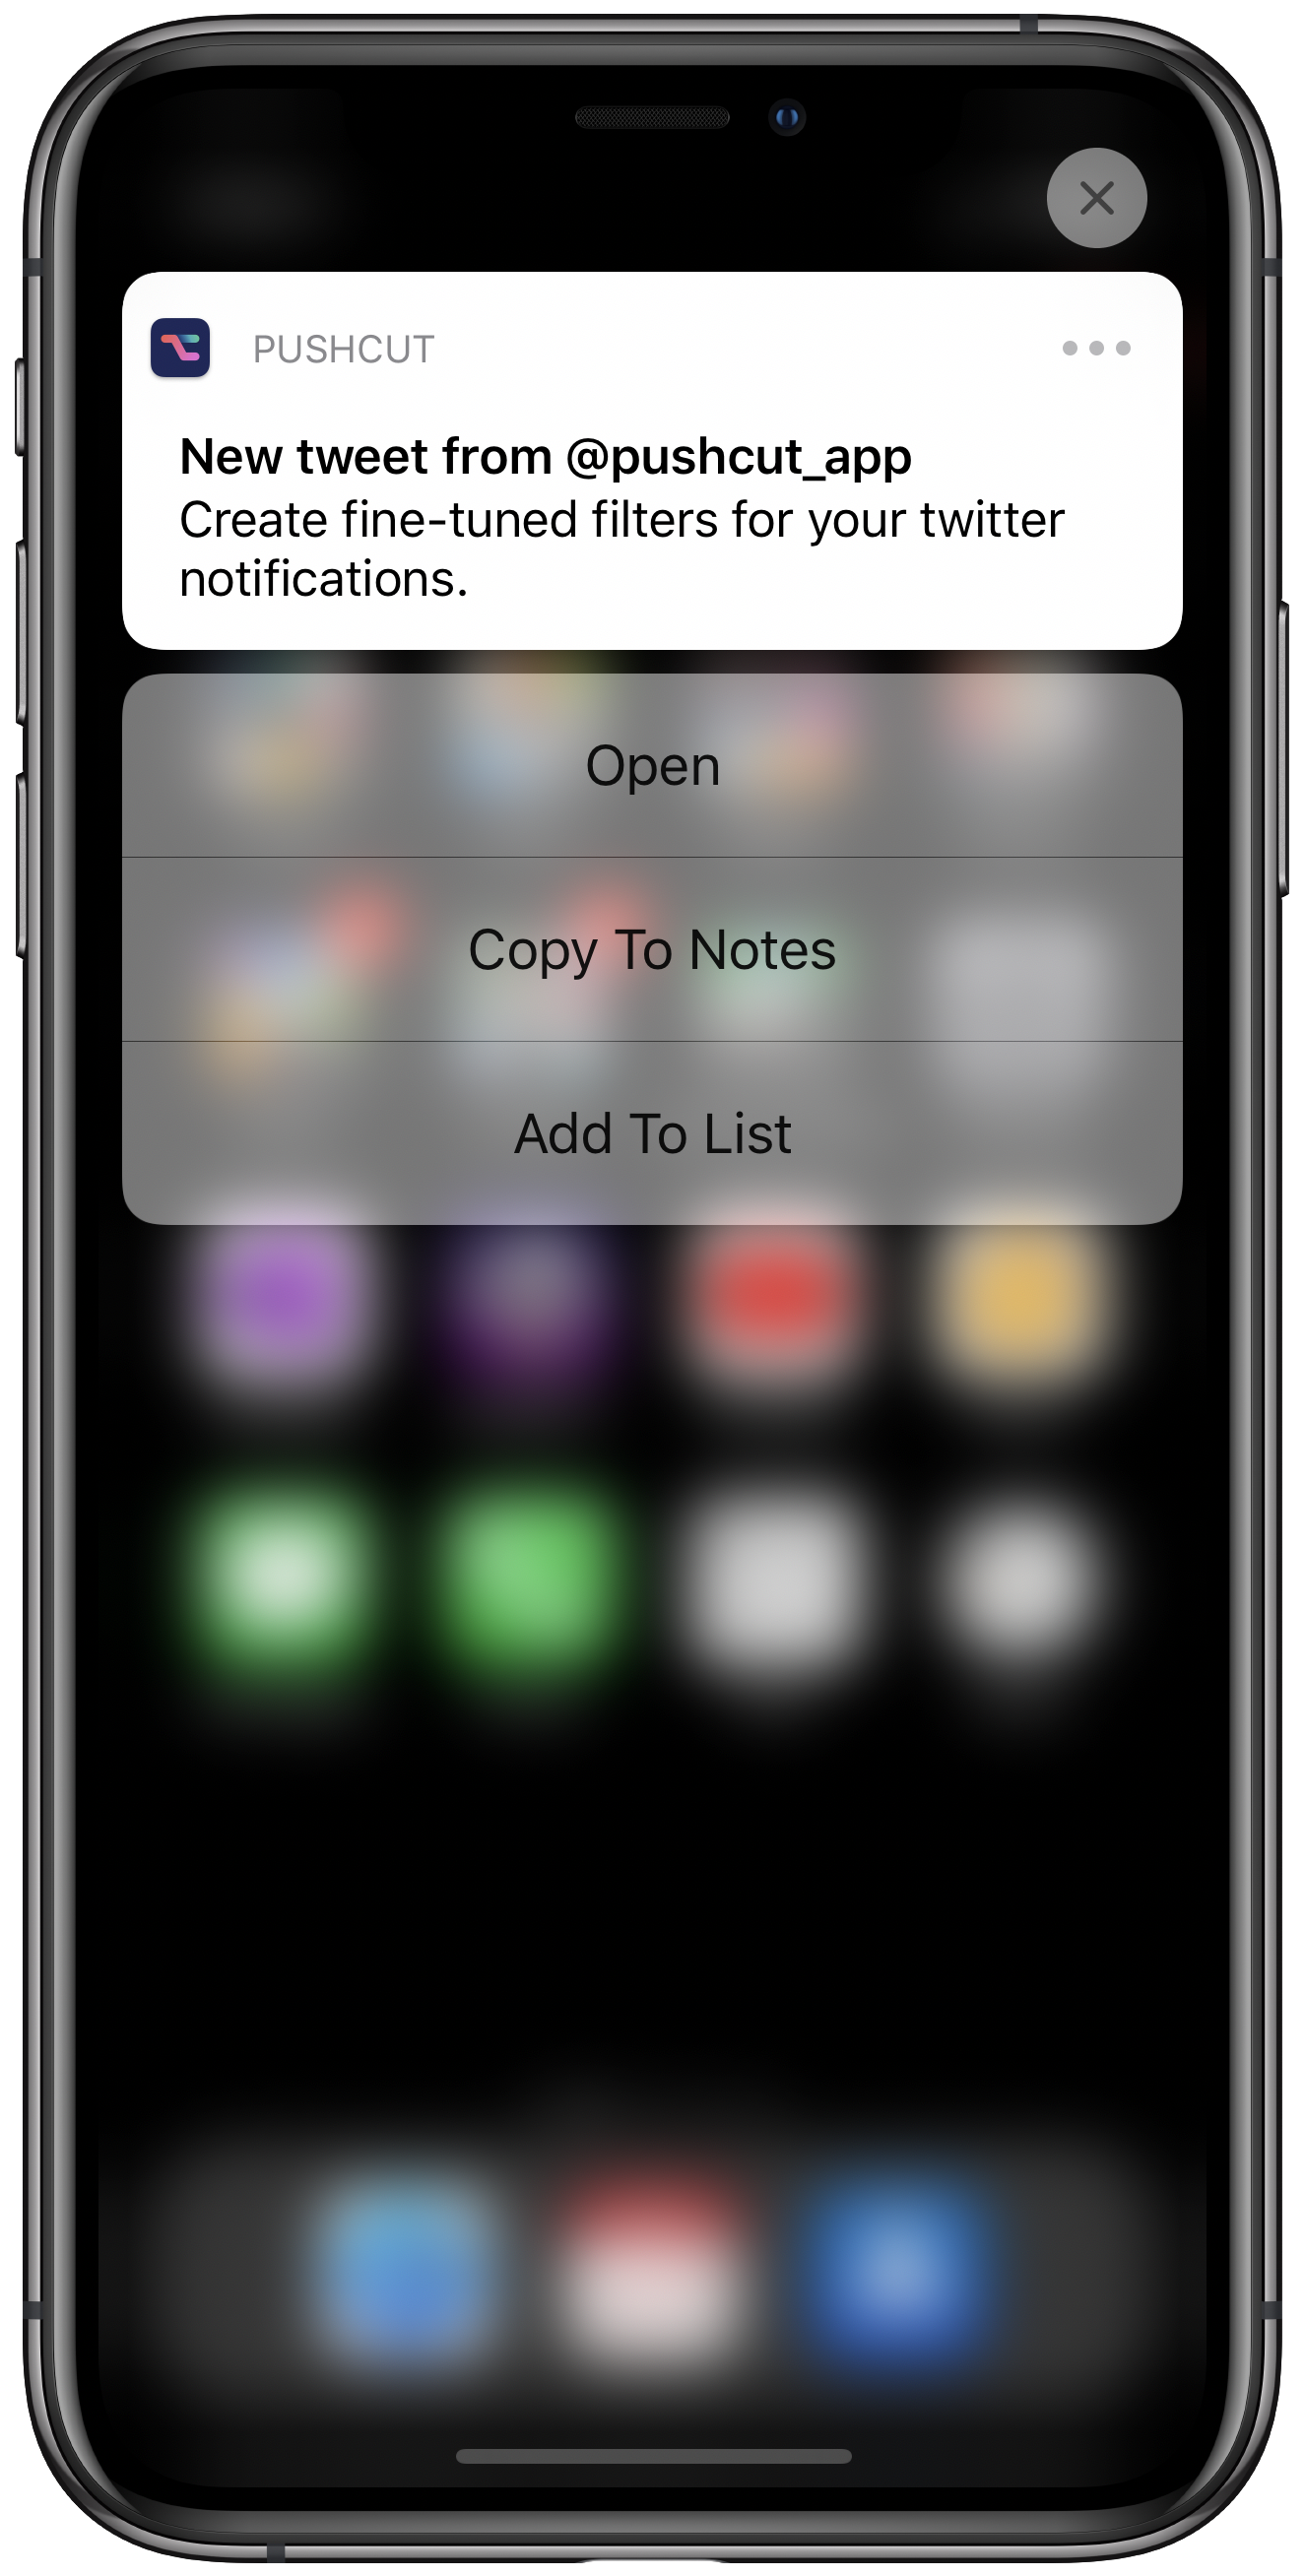
You can add actions to your custom notification to perform automation tasks for you.
For example, you can use Online Actions to execute other zaps when you tap on a notification action.
Check out the other guides and see our Support page for more information.
Zapier Templates
Get started quickly with these templates, or head over to zapier.com and create your own Zaps.